

When working with SOLIDWORKS, one of the most powerful tools at your disposal is the Pack and Go feature. Whether you’re moving files to another computer, archiving your design for future reference, or sharing your work with others, Pack and Go helps you organize and streamline the process by ensuring that all your design components and dependencies are properly bundled together.
In this article, we'll explore what the Pack and Go tool is, how to use it effectively, and how it can save you time and reduce the risk of missing files and references.
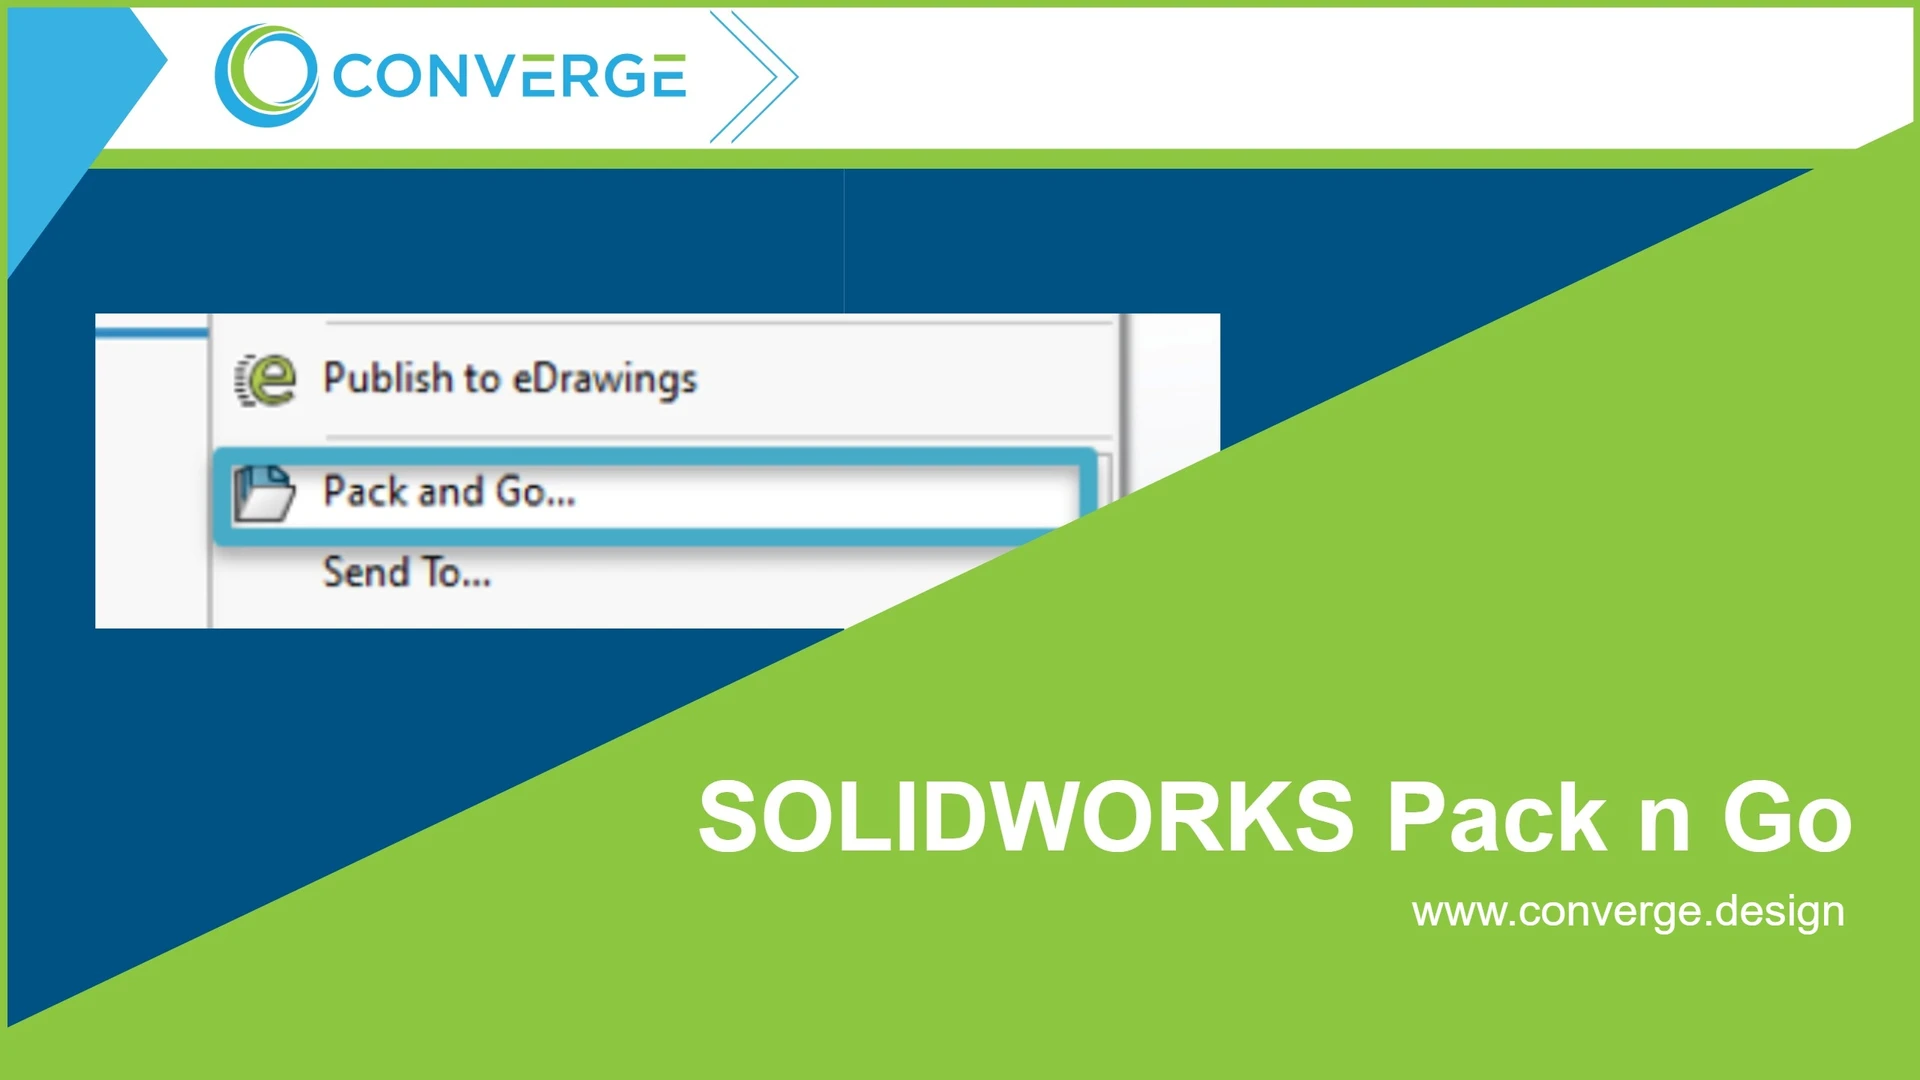
What is Pack and Go?
Pack and Go is a feature in SOLIDWORKS that allows users to collect all related files for a specific assembly or project and save them in a single folder or compress them into a zip file. This includes all referenced components, drawings, assemblies, and even custom properties. The tool ensures that everything is neatly packaged and ready for sharing or storage, minimizing the chance of missing files.
The primary use cases for Pack and Go are:
- Sharing projects: When you need to send your work to a colleague, client, or manufacturer.
- Backup and archiving: When you want to preserve a version of your work without losing any dependencies.
- Migrating to another computer: If you are switching to a new machine or working on multiple systems, Pack and Go helps migrate your entire project seamlessly.
Key Features of the Pack and Go Tool:
- Copy all related files: Includes all referenced parts, assemblies, and drawings.
- Rename files: Allows you to change filenames to avoid conflicts during migration.
- Copy external references: Ensures that all linked files, including custom properties and configurations, are included.
- Create zip archives: Provides the option to compress all files into a single ZIP file for easy transport.
- Maintain folder structure: Keeps the project directory organized and intact.
How to Use the SOLIDWORKS Pack and Go Tool
Follow these simple steps to use the Pack and Go tool effectively:
Step 1: Open the Assembly or Part
Before using Pack and Go, open the assembly or part file that you want to collect. This can be an assembly file (.SLDASM) or any part file (.SLDPRT) that has references to other components.
Step 2: Access the Pack and Go Tool
There are two main ways to access the Pack and Go feature in SOLIDWORKS:
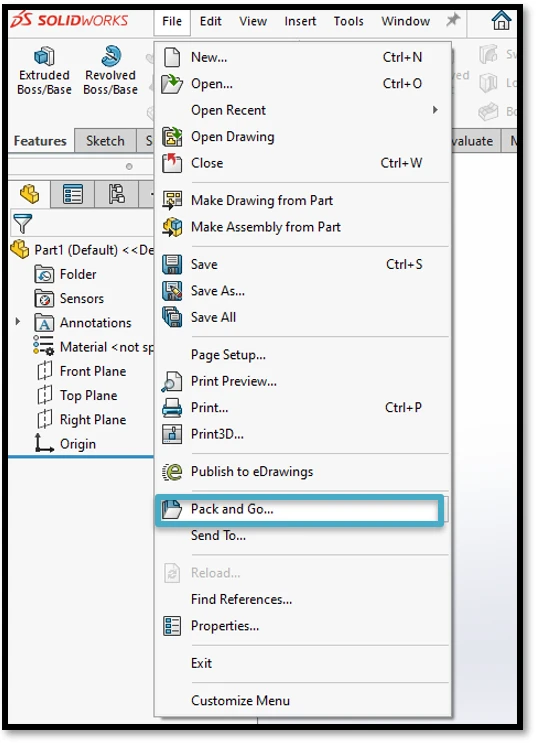
- From the File Menu:
-
- Go to the File menu.
- Select Pack and Go from the dropdown list.
- From the SOLIDWORKS Task Pane:
-
- Click the Pack and Go button in the SOLIDWORKS Explorer tab (if visible).
Step 3: Select the Files to Include
Once you have Pack and Go open, a dialog box will appear with several options for organizing your files.
- Include referenced files: This option ensures that all files referenced by your main file (like components, sub-assemblies, and drawings) are included.
- Include drawing files: Automatically selects any associated drawing files.
- Search paths: SOLIDWORKS will show you all the locations of referenced files. If you need to add or remove paths, you can do so from here.
- External references: SOLIDWORKS will automatically identify and pack external references (e.g., library components, parts, and assemblies from other projects).
You can also choose to rename files if necessary, which is especially useful when you want to avoid file name conflicts or ensure unique file names.
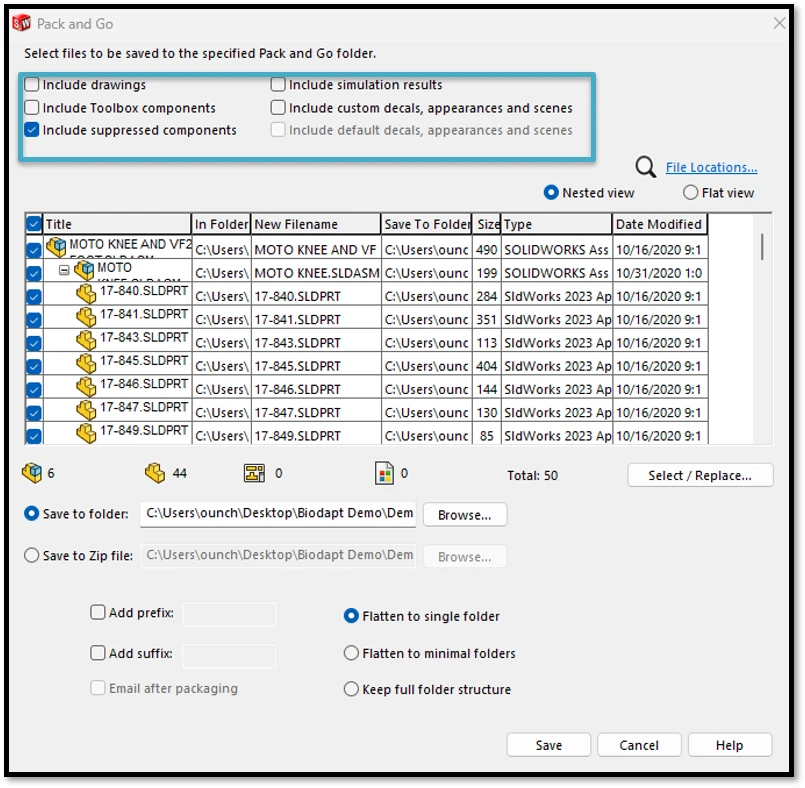
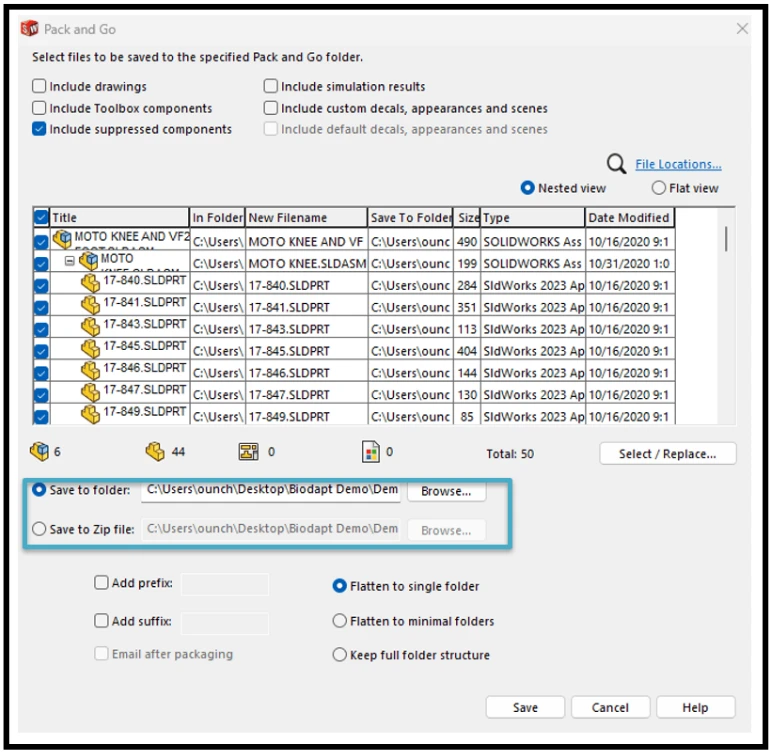
Step 4: Choose the Destination
- Save to a folder: You can select a destination folder where you want the files to be saved. You can create a new folder or select an existing one.
- Create a ZIP archive: If you want to send the files via email or compress them for easier handling, you can choose to create a ZIP file.
Step 5: Start the Pack and Go Process
Once you’ve made your selections, click Save to initiate the packing process. SOLIDWORKS will collect all the selected files, maintain their folder structure, and save them to your chosen location.
Step 6: Review the Packed Files
After the process completes, navigate to the destination folder (or ZIP file) to verify that all the necessary files are included. You should see the entire assembly or project structure intact with all components, drawings, and referenced files.
Advanced Pack and Go Options
While the basic functionality of Pack and Go is relatively straightforward, there are several advanced options that can make the tool even more powerful:
1. Rename Files
You can rename the files as they are packed. This can be useful if you are working with projects that have similar file names but need differentiation. In the Pack and Go dialog box, you can choose to rename files individually or apply a consistent prefix or suffix to all of them.
2. Include References for Sub-Assemblies
When packing a large assembly, you may have multiple sub-assemblies that reference each other. Pack and Go gives you the ability to include references for these sub-assemblies and ensure everything is bundled together.
3. File Options
You can adjust whether you want to include custom properties, configuration-specific files, or whether you want to include only certain configurations of parts and assemblies.
4. Include Preview Files
For parts and assemblies, Pack and Go can include preview files (such as thumbnails) for easier identification. This can be especially helpful when dealing with a large set of files in a folder.
5. External References Handling
Pack and Go also allows you to manage external references (such as library files or linked components). You can choose to copy them into the package or simply reference them from their original location.
Troubleshooting Common Issues
While using Pack and Go is a relatively straightforward process, you may occasionally run into a few issues. Here are some common problems and their solutions:
1. Missing Files or References
- Ensure that you have included all referenced files by checking the “Include referenced files” option.
- Double-check external references and file paths to ensure everything is included.
2. File Conflicts
- If there are duplicate file names in different directories, SOLIDWORKS will prompt you to rename them. Use the Rename files option to avoid this.
3. Large Assemblies
- For large assemblies, Pack and Go may take some time. If you are packing a large number of files, ensure your system has enough disk space and memory.
4. ZIP File Issues
- Ensure that you don’t have too many files or overly large files when choosing to compress into a ZIP archive. ZIP file sizes are typically limited by the compression tool you use.
Conclusion
SOLIDWORKS Pack and Go is an incredibly useful tool that can save time and reduce the chance of errors when sharing or archiving your projects. By ensuring that all referenced files, assemblies, and drawings are correctly included, you can easily transfer or store your projects with confidence.
Remember to make use of the various options such as file renaming, external references, and ZIP archives to keep your workflow smooth and organized. With these capabilities, the Pack and Go tool will be an invaluable addition to your SOLIDWORKS toolbox.